| Invarosoft CX · Client Portal |
How to Add Documents, Webforms, or Service Catalogs to the Client Portal
Menu collections control what your clients see in the Client Portal menu. By adding documents, webforms, or service catalogs as menu items, you give clients one central place to find the resources and forms they need, making every interaction smoother. This guide shows you how to create a menu collection, add main menus and sub-menus, and link each one to the right content.
| Before you start: the documents, webforms, or service catalogs you want to show must already exist. Create them first using these guides: |
This interactive walkthrough plays on its own — sit back and watch, or use the arrows at the bottom to skip ahead or replay a step.
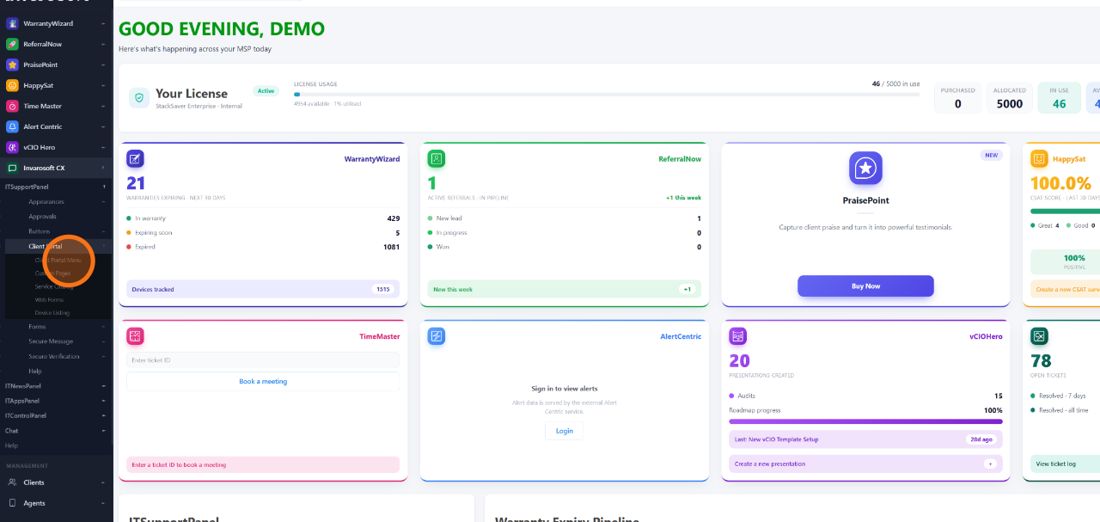
| Open Client Portal Menu |
In the left sidebar, open Invarosoft CX, expand ITSupportPanel and Client Portal, then select Client Portal Menu.
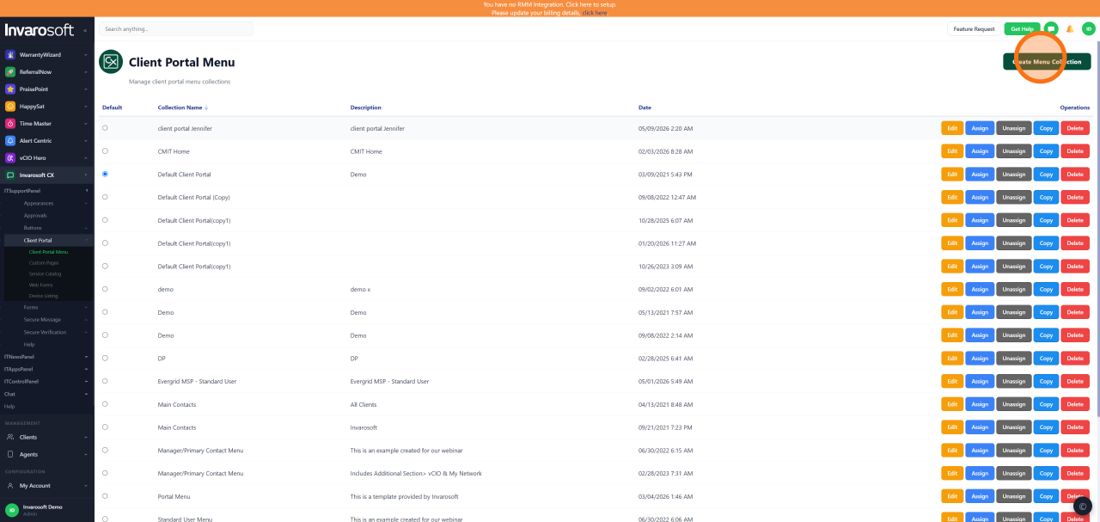
| Create a new menu collection or edit an existing one |
Click Create Menu Collection in the top-right corner to start a new collection. To add items to a collection you already have, click the Edit button on its row instead and continue from step 4.
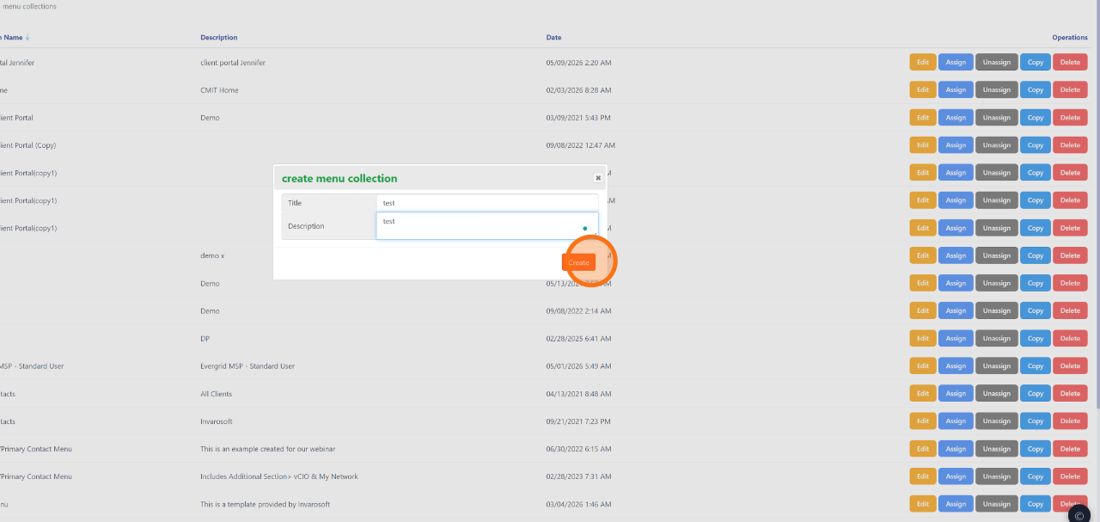
| Enter a title and description, then click Create |
In the create menu collection window, type a Title and a short Description for the collection, then click Create.
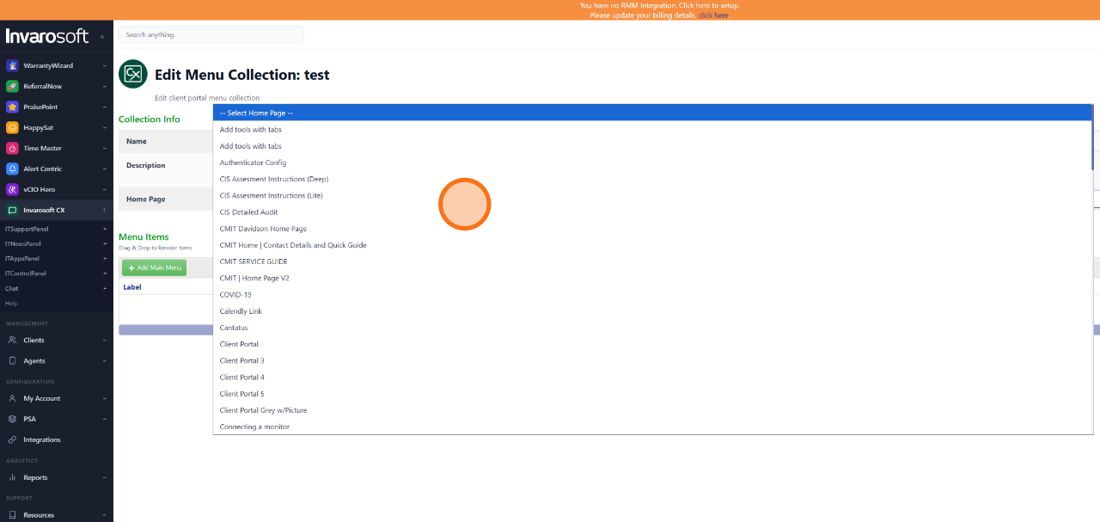
| Choose a Home Page (optional) |
Under Collection Info, use the Home Page dropdown to pick the page clients will land on when they open the portal with this menu.
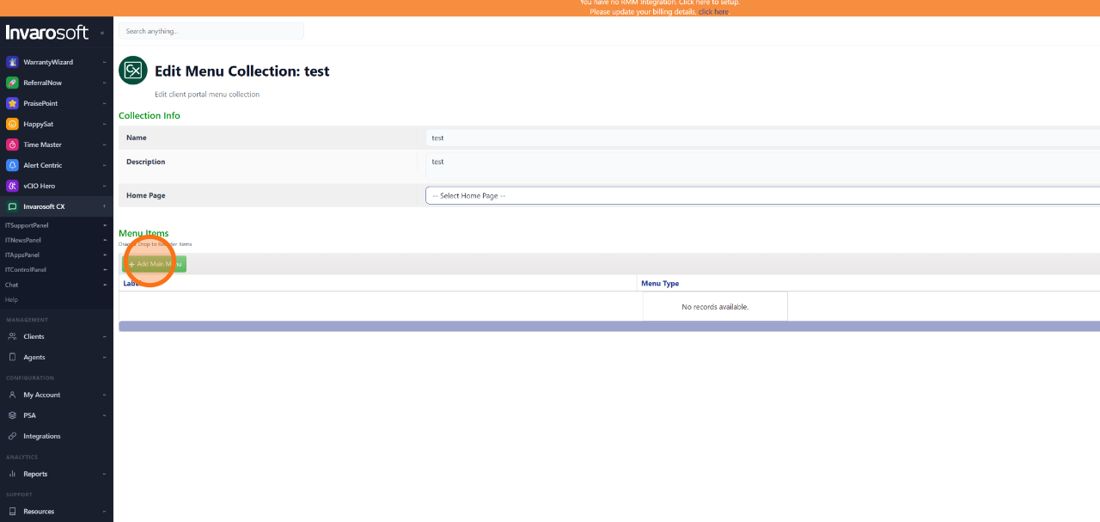
| Click Add Main Menu |
In the Menu Items section, click Add Main Menu to add a new top-level item to the menu.
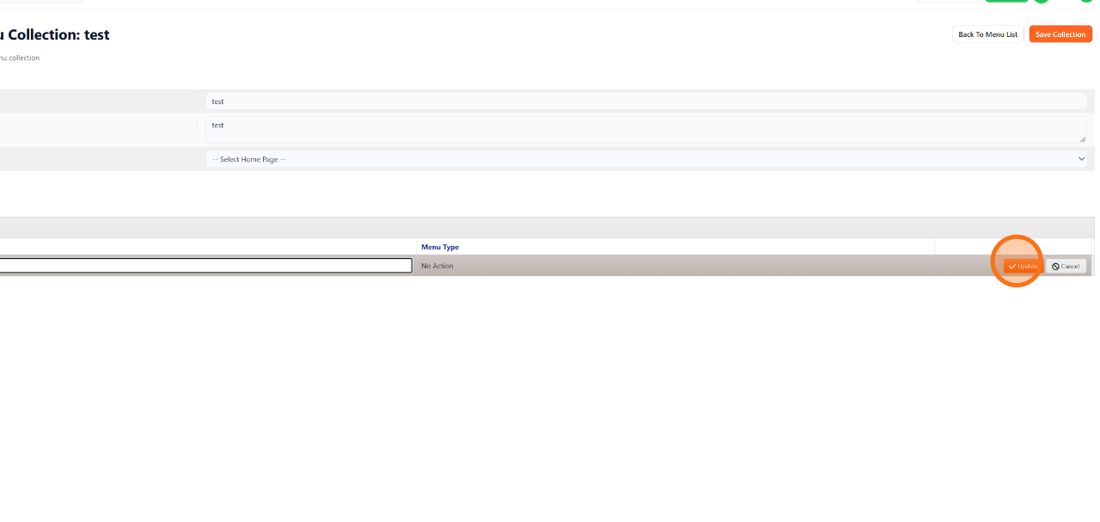
| Type the label and click Update |
Type the Label that clients will see in the portal menu, then click Update to save the row.
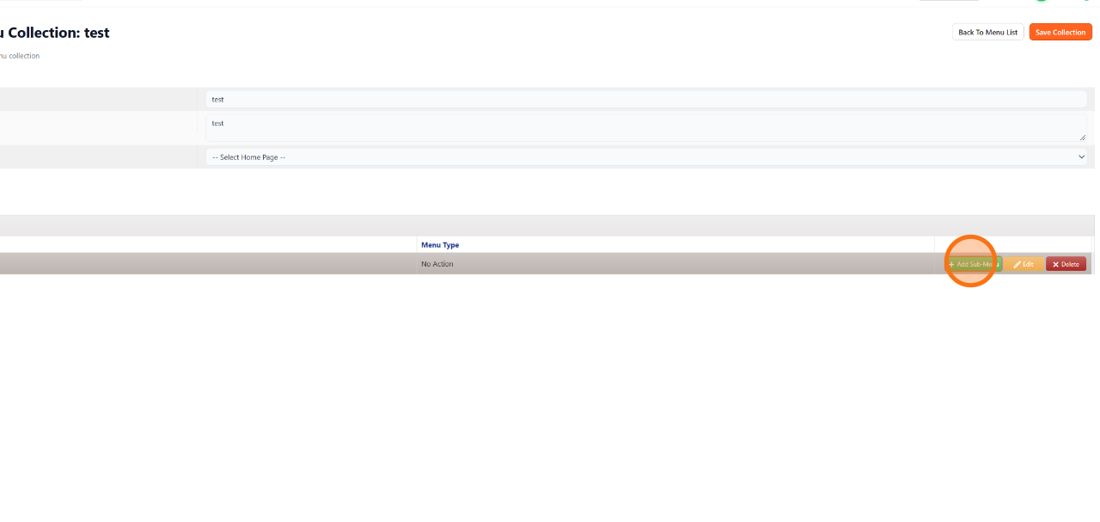
| Add a sub-menu (optional) |
To nest items under this main menu, click Add Sub-Menu on its row. Skip this step if the item doesn't need sub-items.
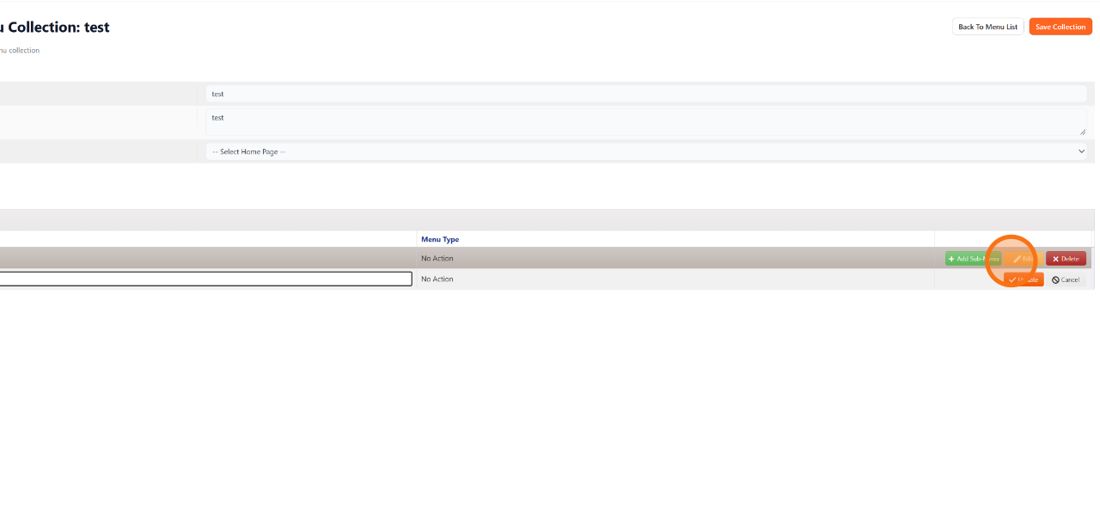
| Click Edit on the menu item |
Click the Edit button on the main menu or sub-menu you want to configure to open the Update Menu window.
| Fill in the menu fields |
Confirm the Menu Label and choose the Type of content this item opens (for example, Service Catalog, a document page or a webform). Then select the specific item in the field that appears below, such as the Service Catalog you want to show.
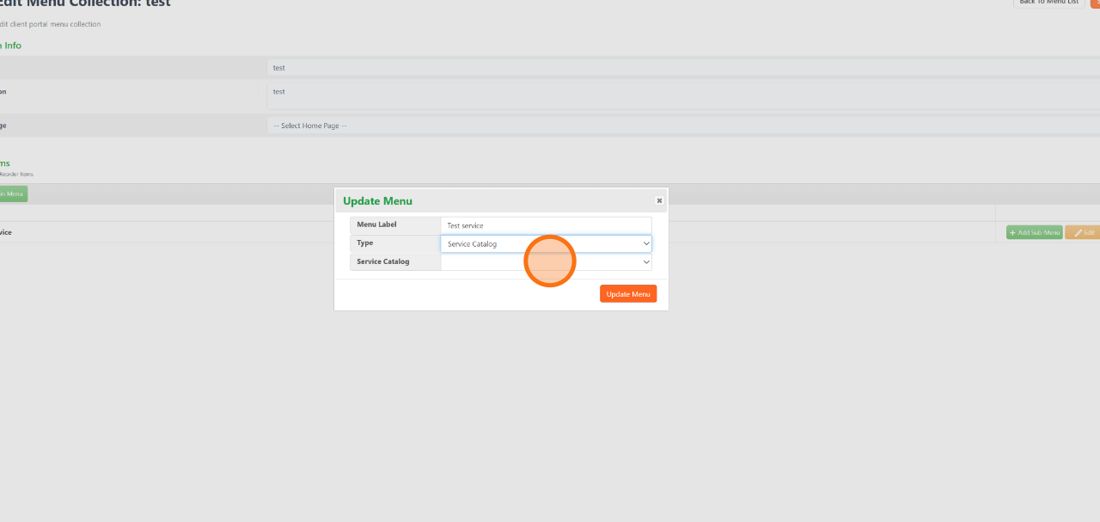
| Click Update Menu |
Click Update Menu to apply the changes to the item. Repeat steps 5 to 10 for every menu or sub-menu you want to add.
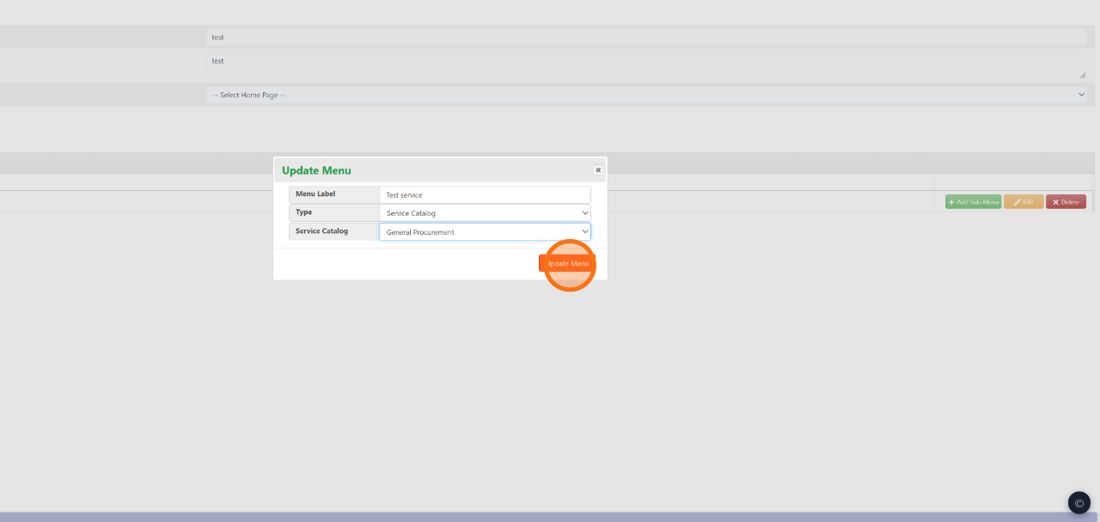
| Click Save Collection |
When you finish adding menus, click Save Collection in the top-right corner. You'll return to the Client Portal Menu list with a Menu Updated Successfully message.
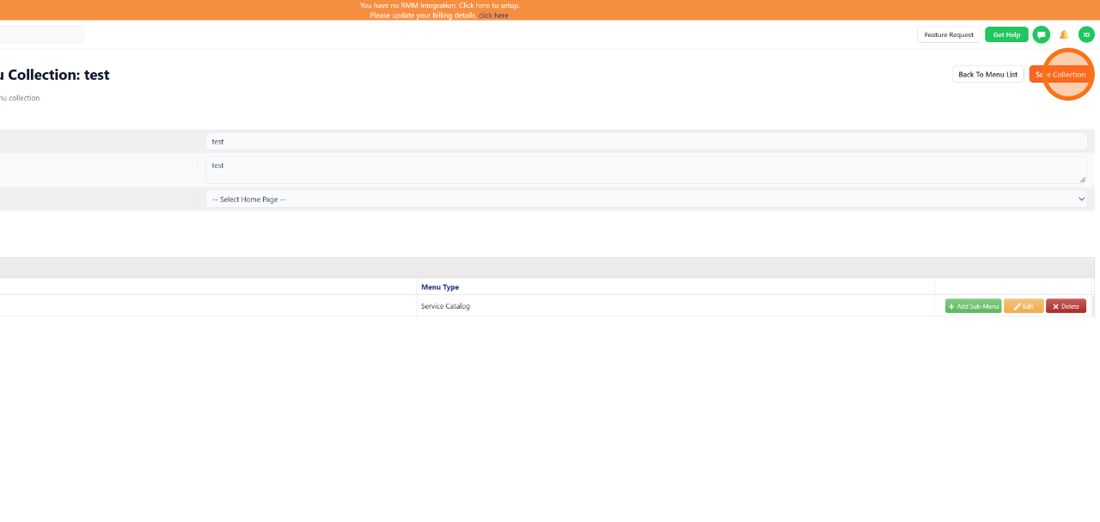
| Done. Your menu collection is saved, and its menu items now link clients directly to your documents, webforms, and service catalogs in the Client Portal. |
Was this article helpful?
That’s Great!
Thank you for your feedback
Sorry! We couldn't be helpful
Thank you for your feedback
Feedback sent
We appreciate your effort and will try to fix the article